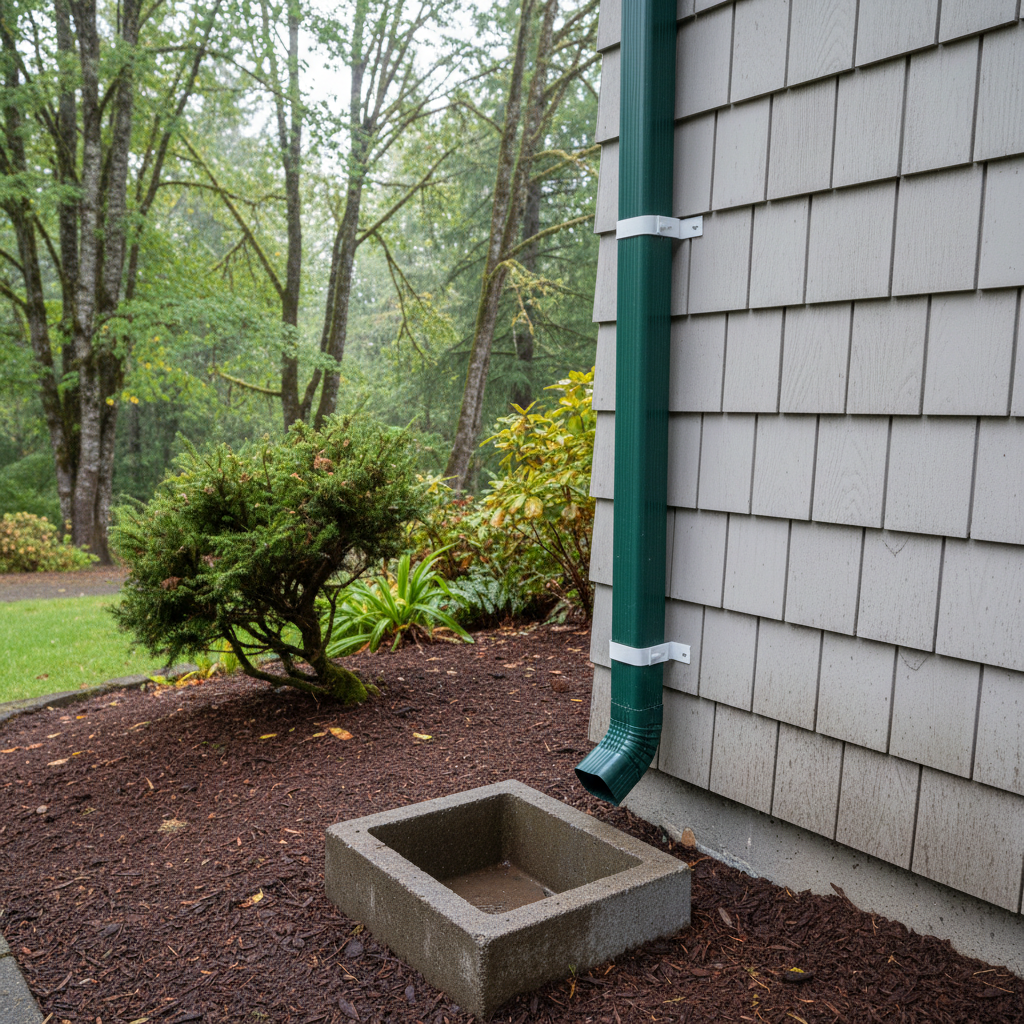
So, you're standing there, looking at your downspouts, and thinking, "Can I just do this myself?" That's a fair question. Plenty of folks here in Renton, especially those with some of the older homes in spots like Kennydale, have downspouts that are either falling apart, too small, or just plain missing. Getting rainwater away from your foundation is absolutely critical, particularly with the kind of wet winters we get around here. Believe me, you don't want water pooling where it shouldn't.
Let's talk about what you need to know before you even grab a tool, what you can realistically tackle during the installation, and what to keep an eye on once everything's in place.
Before You Start: Planning & Materials
First things first, don't just wing it. You really need a plan. The biggest mistake I see homeowners make? They don't plan for proper water flow. Your downspouts aren't just for looks; they're like the drainage highway for your roof. They need to be the right size and positioned correctly to handle all that water coming off your gutters.
- Measure Twice, Buy Once: Figure out how many feet of downspout you'll need. Measure from the bottom of your gutter outlet down to the ground. Then, add a few extra feet for the elbow at the bottom and any extensions you plan to use to direct water away from your foundation. Oh, and don't forget those elbows – you'll need at least two per downspout, one at the top and one at the bottom.
- Sizing Matters: Most homes around here typically use 2x3 inch or 3x4 inch downspouts. If you've got a really big roof section or a steep pitch, you might need something larger. Undersized downspouts will just overflow in a heavy rain, which defeats the whole purpose, right?
- Material Choice: Aluminum is common, durable, and comes in lots of colors. Steel and copper are also options, but they're pricier and tougher for a DIYer to work with. If you're doing this yourself, stick with aluminum.
- Tools: You'll definitely need a tape measure, a hacksaw or tin snips (for cutting aluminum), a drill, a screwdriver (or a nut driver for hex head screws), a crimper (if you're connecting sections), a caulk gun with gutter sealant, and a ladder. Make sure your ladder is sturdy and you feel comfortable working on it. Safety always comes first.
- Permits? For a simple downspout replacement, you usually don't need a permit in Renton. But if you're doing a big overhaul of your entire drainage system, or connecting to an underground system, it's always smart to check with the city's planning department. Just to be safe.
The Installation: DIY vs. Pro
Okay, you've got your materials. Now for the fun part. Can you actually install these yourself?
What You Can Probably DIY:
If you're just replacing an existing downspout with a new one of the same size and in the same spot, and you're comfortable on a ladder, this is usually a pretty straightforward DIY job. It involves:
- Removing the Old Downspout: Unscrew the straps holding it to the wall and pull it away from the gutter outlet.
- Attaching the Top Elbow: This connects to the gutter outlet. You might need to crimp the end of the downspout a bit to fit it into the elbow, then secure it with screws and sealant.
- Measuring and Cutting Downspout Sections: Measure carefully. You want the downspout to run straight down the wall. Use your hacksaw or snips for clean cuts.
- Connecting Sections: If you need more than one section, the top piece usually slides into the bottom piece. Crimp the top piece slightly if needed, then secure with screws and sealant.
- Securing to the Wall: Use downspout straps, usually every 6-10 feet, to attach the downspout firmly to your house. Make sure it's plumb – perfectly straight up and down.
- Adding the Bottom Elbow & Extension: This directs water away from your foundation. Aim for at least 3-6 feet away from the house, or into a proper drainage system.
It sounds simple, and for a basic replacement, it often is. But there are definitely times when you should call in the pros.
When to Call a Pro (Like Us at Classic Gutter Solutions):
Here's where things can get tricky, and where a professional can save you a lot of headaches (and potential water damage):
- New Gutter System: If you're putting in a whole new gutter system, or changing the layout significantly, you'll want a pro. They'll make sure the slope is right, the downspouts are placed optimally for flow, and everything integrates seamlessly.
- Complex Rooflines: Got a complicated roof with multiple valleys and corners? Figuring out the best downspout locations and how to manage all that water effectively takes real experience.
- Underground Drainage: If you want to connect your downspouts to an underground drainage system or a French drain, that's definitely a job for someone with expertise in excavation and proper drainage planning. You really don't want water backing up into your downspouts or, worse, into your foundation.
- Height and Safety Concerns: If your house is really tall, or you're just not comfortable on a ladder, don't risk it. A fall isn't worth saving a few bucks. We've got the right equipment and training to do it safely.
- Persistent Water Issues: If you've tried to fix your downspouts and you're still seeing water pooling around your foundation, or even worse, in your crawl space (a common issue in some of the older, lower-lying Renton neighborhoods), you need a professional assessment. It might not just be the downspouts; it could be a bigger drainage problem.
After Installation: Maintenance & Monitoring
Once those new downspouts are up, your job isn't completely done. You've got to keep an eye on them. Our Puget Sound weather means leaves, moss, and other debris are always going to be a factor.
- Regular Cleaning: Twice a year, or more if you have a lot of trees, check your downspouts for clogs. A clogged downspout is useless. You can flush them with a hose from the top.
- Check for Leaks: After a heavy rain, walk around your house and look for any leaks at the seams or where the downspout connects to the gutter. Address them quickly with gutter sealant.
- Foundation Check: Make sure the water is still being directed well away from your foundation. If you see erosion or pooling, you might need to adjust your downspout extensions.
- Winter Prep: Before winter hits, make sure everything is clear. Ice dams can form if water gets trapped, which can cause real damage.
Installing downspouts can be a rewarding DIY project for the right person and the right situation. But don't be afraid to call in the cavalry when the job gets too big or too complex. We're here to help make sure your home stays dry and protected, no matter what our Renton weather throws at it.